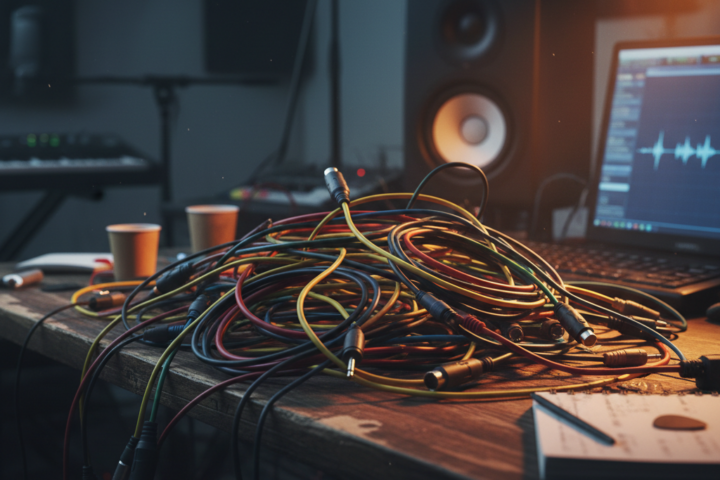
For aspiring musicians, podcasters, and content creators, the journey into home recording often begins with a fundamental question: “How do I connect my microphone or instrument to my computer and get good sound?” The answer, more often than not, lies with an audio interface. This crucial piece of gear acts as a bridge, converting analog audio signals (like your voice or guitar) into digital data your computer can understand, and then back again for listening through headphones or speakers. Choosing the right one can feel daunting with so many options available, but understanding a few key concepts will empower you to make an informed decision for your needs and budget.
Understanding the Basics: What an Audio Interface Does
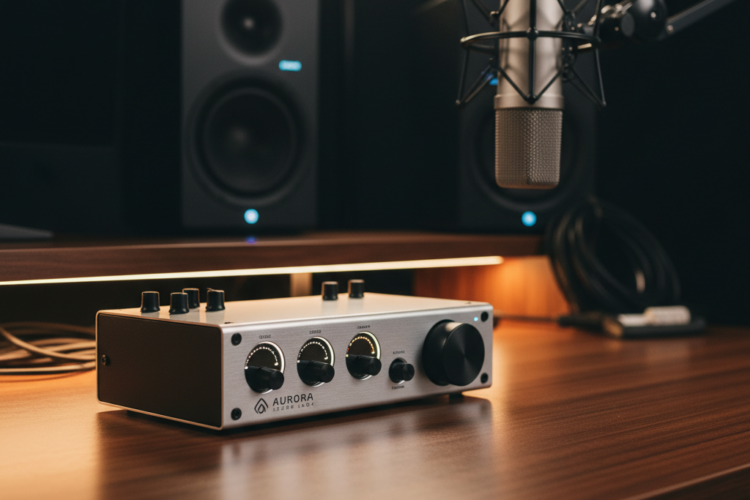
Think of an audio interface as an external sound card, specifically designed for high-quality audio input and output. Unlike the built-in sound card in most computers, which is optimized for general use and often introduces noise or latency (a noticeable delay between playing and hearing sound), an audio interface offers dedicated preamplifiers, analog-to-digital (AD) and digital-to-analog (DA) converters, and robust connectivity. Preamplifiers boost the low-level signal from your microphone or instrument to a usable level. AD converters turn that boosted analog signal into digital information. DA converters do the reverse, transforming digital audio from your computer back into an analog signal for your headphones or studio monitors. This dedicated processing is what allows for cleaner recordings and more accurate playback.
Common mistakes beginners make include trying to record directly into a computer’s microphone jack, which often results in poor sound quality and high latency, or investing in an expensive microphone without a proper interface to capture its full potential. The interface is the foundation upon which your sound quality is built.
Key Considerations for Your First Interface
When selecting your initial audio interface, several practical considerations come into play. Two or three key aspects to focus on are the number of inputs and outputs, connection type, and ease of use.
Inputs, Outputs, and Connectivity: What You Need
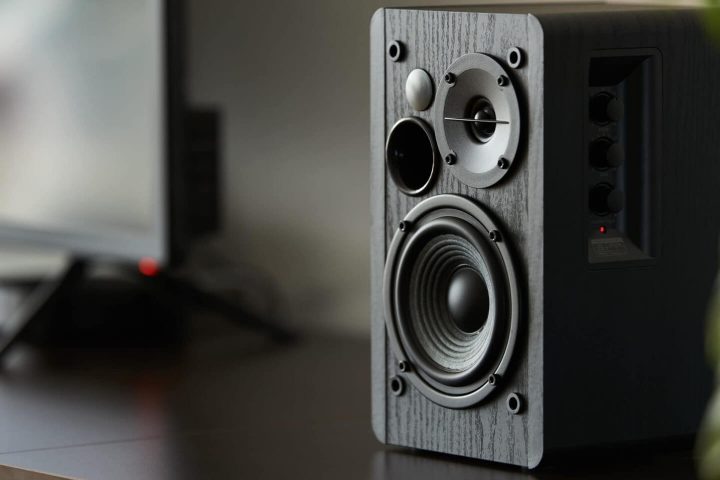
The “ins and outs” of an interface refer to how many microphones, instruments, or speakers you can connect. For most beginners, an interface with two inputs is an excellent starting point. This allows you to record one microphone and one instrument simultaneously, or two microphones for a podcast or vocal duet. Look for inputs that feature “combo jacks,” which accept both XLR cables (common for microphones) and 1/4-inch instrument cables. For outputs, two main outputs (usually 1/4-inch or RCA) are standard for connecting to studio monitors, plus a dedicated headphone jack for monitoring your sound privately.
Regarding connectivity, most modern audio interfaces connect to your computer via USB (USB-A, USB-C, or Thunderbolt). USB 2.0 and 3.0 are perfectly adequate for most home studio needs, offering low latency and stable connections. Thunderbolt offers even lower latency but is typically found on higher-end interfaces and newer computers. Ensure the interface you choose is compatible with your computer’s operating system (Windows or macOS) and has the correct type of USB or Thunderbolt port.
Sound Clarity and Preamp Quality
While often talked about in technical terms, for a beginner, “sound clarity” primarily comes down to the quality of the interface’s preamplifiers and converters. Good preamps ensure your recordings are clean, a true representation of the source, and free from unwanted noise or distortion. When reading reviews, look for mentions of “clean preamps” or “transparent sound.” You don’t need to delve into the intricacies of signal-to-noise ratios, but a higher-quality interface will generally offer better preamps, resulting in recordings that sound more professional and require less corrective work in mixing. Many popular entry-level interfaces from reputable brands like Focusrite, PreSonus, and Universal Audio offer excellent preamp quality for their price point, providing a significant upgrade over onboard computer audio.
Setting Up and Getting Started
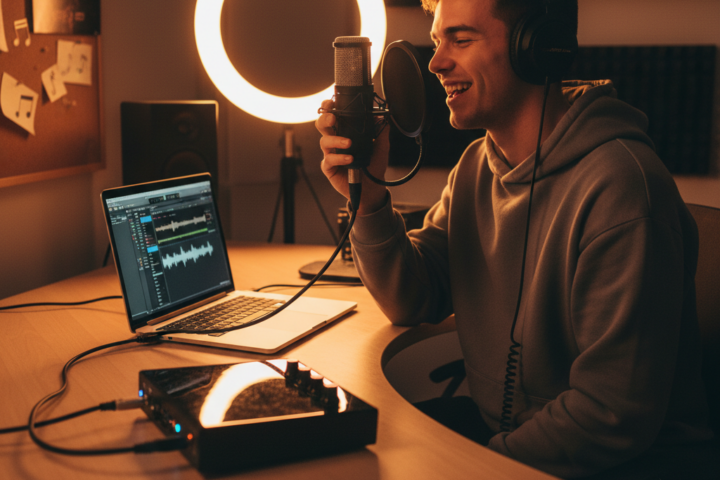
Once you’ve chosen your interface, setup is usually straightforward. Most interfaces are “class-compliant,” meaning your computer will recognize them automatically. However, it’s always best practice to download and install the latest drivers from the manufacturer’s website. These drivers often include control panels that allow you to adjust settings specific to your interface, like monitoring levels or sample rates. Connect your microphone or instrument to an input, your headphones or studio monitors to the outputs, and connect the interface to your computer via the appropriate cable. In your Digital Audio Workstation (DAW) software (like GarageBand, Audacity, Reaper, or Ableton Live Lite), select your audio interface as the input and output device. Adjust gain knobs on the interface so your signal is strong but not “clipping” (distorted), which you’ll usually see indicated by a red light on the interface or your DAW. With just a few connections and software adjustments, you’ll be ready to capture high-quality audio directly to your computer.