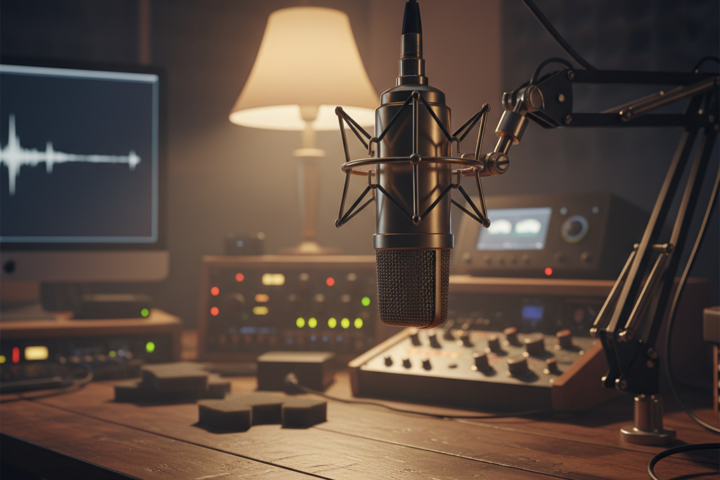
For aspiring musicians, podcasters, and content creators, the journey into home recording often begins with a fundamental question: how do I get my instrument or microphone sound into my computer? The answer, more often than not, lies with an audio interface. This crucial piece of gear acts as a translator, converting analog audio signals into digital data your computer can understand, and vice-versa. But with a dizzying array of options, choosing the “right” audio interface can feel overwhelming. This guide will walk you through the essential considerations to help you select an interface that perfectly fits your needs and budget.
What is an Audio Interface and Why Do You Need One?
Simply put, an audio interface is the bridge between your real-world sound sources (microphones, guitars, keyboards) and your computer. While most computers have built-in audio inputs, these are typically low-quality and unsuitable for serious recording. An audio interface provides much higher fidelity conversion, dedicated microphone preamplifiers (often called “pres”) to boost weak microphone signals, and robust connections that minimize interference. Without a good audio interface, even the most expensive microphone will sound mediocre when plugged directly into a computer’s consumer-grade input.
Beyond basic input, interfaces often offer essential features like phantom power (needed for condenser microphones), instrument inputs (for guitars and basses), and dedicated headphone outputs for latency-free monitoring. Latency is the slight delay between playing a note and hearing it through your headphones, and a good interface drastically reduces this, making recording a much more natural and enjoyable experience.
Key Considerations When Choosing Your Interface
When you’re staring at a wall of audio interfaces, focus on these three practical aspects to narrow down your choices:
1. Input/Output (I/O) Count: How Many Things Do You Need to Plug In?
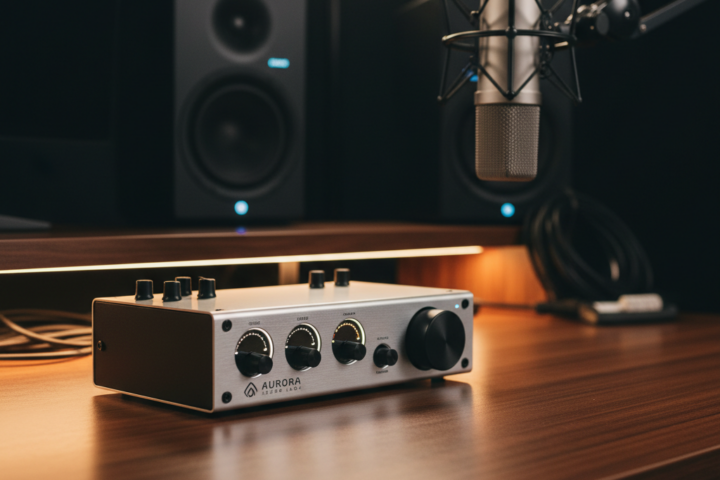
This is perhaps the most critical decision. The I/O count refers to how many inputs (where you plug in microphones or instruments) and outputs (where sound comes out, like to speakers or headphones) an interface has. For a solo musician recording vocals and a single instrument at a time, a 2-input/2-output interface (often advertised as “2×2”) is perfectly adequate. This typically means one or two XLR inputs for microphones and one or two ¼-inch inputs for instruments.
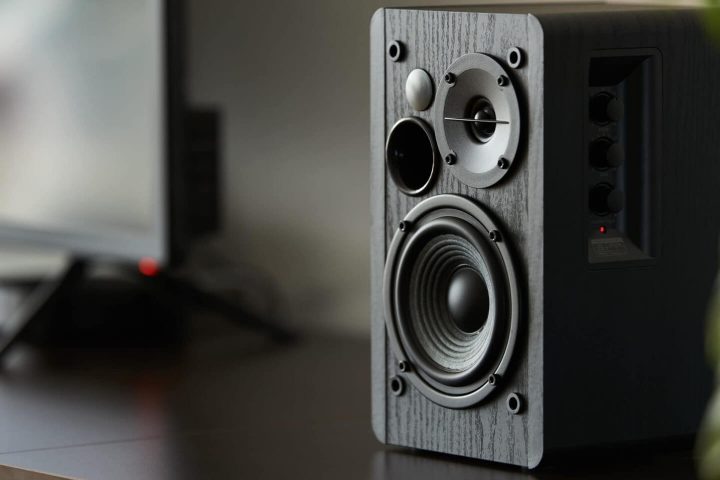
If you plan to record a band, multiple microphones on a drum kit, or several instruments simultaneously, you’ll need more inputs. Interfaces come with 4, 8, 16, or even more inputs. A common mistake is to buy an interface with too few inputs, only to realize later that you need to record more sources at once. While you can always expand later, it’s often more cost-effective and convenient to get an interface with a few extra inputs than you think you’ll immediately need. Consider your future recording ambitions! For outputs, a simple 2-output configuration is usually fine for connecting to a pair of studio monitors.
2. Connection Type: USB, Thunderbolt, or FireWire?
The way your interface connects to your computer impacts its performance and compatibility. USB is the most common and versatile connection type, found on virtually all modern computers. USB 2.0 and USB 3.0 interfaces offer excellent performance for most home studio setups, providing low latency and reliable data transfer. USB-C is becoming increasingly prevalent, offering even faster speeds and reversible connectors.
Thunderbolt connections (primarily on Mac computers, but also some PCs) offer significantly higher bandwidth, making them ideal for interfaces with a very high input/output count or those that require extremely low latency. While powerful, Thunderbolt interfaces are generally more expensive. FireWire used to be popular but is now largely obsolete, so avoid interfaces using this old standard unless you have a legacy computer that specifically requires it.
3. Preamplifier Quality and Features: The Sound of Your Sound
The quality of the preamplifiers built into your audio interface greatly influences the clarity and richness of your recordings. Preamps boost the typically weak signal from a microphone or instrument to a line level, which is what your computer expects. Better preamps offer a cleaner, more transparent sound with less noise and hiss. While high-end preamps are a significant investment, even entry-level interfaces from reputable brands (like Focusrite, Universal Audio, Native Instruments, or PreSonus) offer very capable preamps for home studio use.
Look for interfaces that clearly state they offer phantom power (+48V). This is essential for powering condenser microphones, which are widely popular for vocals and acoustic instruments due to their detailed sound. Also, check for “Hi-Z” or “instrument” inputs, which are specifically designed to handle the impedance of guitars and basses, ensuring a proper signal without sounding thin or weak. Some interfaces also include optical inputs (ADAT/S/PDIF) for expanding your input count with additional preamps in the future, a useful feature for growth.
Choosing an audio interface doesn’t have to be a daunting task. By focusing on your input/output needs, understanding the different connection types, and prioritizing decent preamplifier quality, you can confidently select a device that will be the heart of your home studio for years to come. Remember, a good interface is an investment in the quality of your sound.